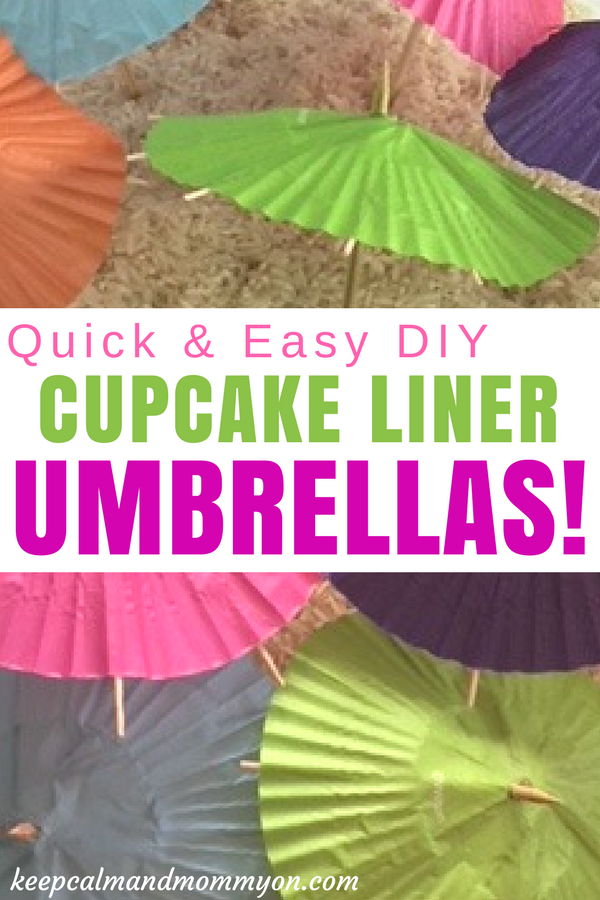
Are you looking for a fun craft to make with your kids? Would you like to know how to make paper umbrellas? This fun and simple craft can be used over and over again for fun imaginative play!
This site contains affiliate links. If you make a purchase using one of these links, I may earn a commission. Please visit my disclaimer page for more information about cookies collected and our privacy policy.
How To Make Paper Umbrellas Out Of Cupcake Liners!
Recently my kids requested a day at the beach sensory bin!
When I started thinking of things that are needed for a day at the beach, I realized that we needed beach umbrellas.
I thought, what better for a mini beach umbrella than a drink umbrella?!
The problem is that I didn’t want to wait a couple of days for drink umbrellas from amazon to get here, we wanted to make the bin sooner. And my dollar store didn’t have any.
So, I decided to make my own!
Miniature Umbrella
My daughter helped me and we had a great time together!
Plus, we made them for the price of a few cupcake liners and toothpicks!
Way cheaper than drink umbrellas!
They were sooo easy to make.
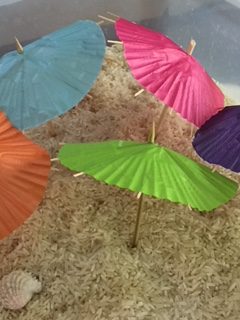
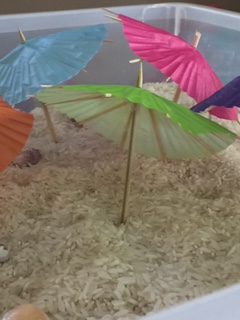
And while they aren’t professional, I think they turned out super cute! And my kids were very satisfied with them, which was the main point anyways:)
How To Make a Paper Umbrella
First gather your supplies.
The great thing about this cupcake liner craft is that you probably already have everything that you need to make them!
What you will need:
Cupcake Liners (we used these colorful wilton liners)
Elmers Glue (or any craft glue will work. We just used the glue that the kids use for their crafts:)
Miniature Umbrella Decorations
How to assemble the cupcake liner umbrellas.
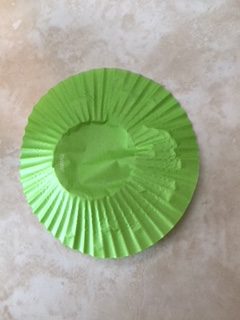
First start by flattening your cupcake liners. You can spread them out with your hand against a hard surface.
If that isn’t enough then put them under a heavy book for a little while to help make them flat.
Next, flip your cupcake liner over so that the pretty side is down.
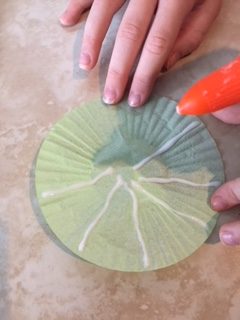
Using your glue, squeeze lines evenly spaced from the outside to the middle of the liner. Work your way around the liner spacing your glue strips about half to one inch apart.
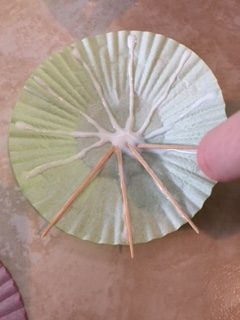
After your have applied glue all the way around the liner, place a toothpick on each strip of glue.
We positioned our toothpicks so that a little of the toothpick stuck out from the umbrella. We like the way the umbrellas look with the toothpicks sticking out, and it keeps the toothpicks from overlapping in the middle of the liner.
Also, you want to be sure that there is room in the middle of the liner to stick your umbrella stand.
After adding your toothpicks all the way around the liner, use a napkin to dab up any large puddles of glue. It’s easy to get too much glue in the middle of the liner where each of the lines meet. It will take a really long time to dry if you leave a puddle!
While you are waiting for the glue to dry, break your skewers into the length that you would like your umbrella stand to be.
We used one 12 inch skewer to make three umbrellas, so we broke the skewer into four inch pieces.
Once your glue is completely dry, stick the sharpest end of your skewer through the cupcake liner in the very center.
If you are worried about the sharp tip of the skewer poking someone, then clip it off with a pair of scissors after you have pushed it through the cupcake liner.
If you feel that the liner is too wobbly on the skewer, you can add a couple pieces of tape to the underside of your umbrella around the skewer.
And now you have your own super cute, homemade paper umbrellas!
Wasn’t that easy?!
My kids loved playing with our miniature umbrellas in the Day At The Beach Sensory Bin!
What will you use your miniature umbrellas for?
Leave me a comment below and let me know!

