Are you looking for some great pumpkin decorating ideas for halloween? Are you tired of carving pumpkins and scooping out goo?! Try this melted crayon pumpkin idea!
This site contains affiliate links. If you make a purchase using one of these links, I may earn a commission. Please visit my disclaimer page for more information about cookies collected and our privacy policy.
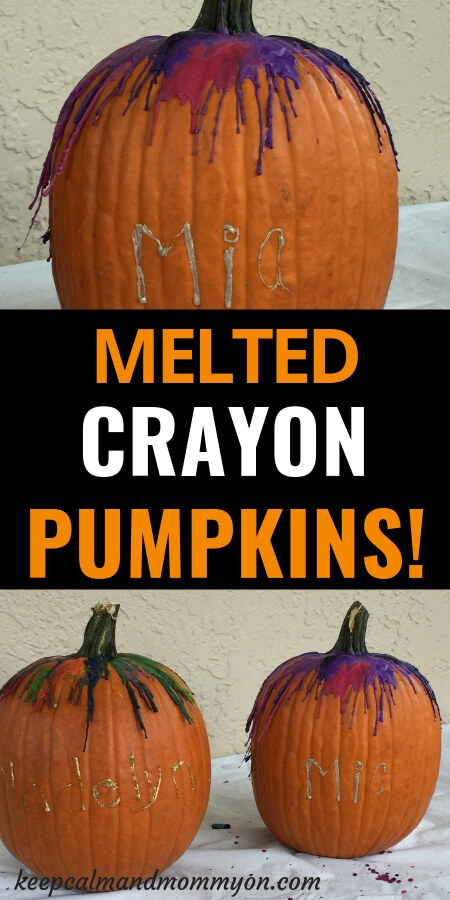
Melted Crayon Pumpkin
My daughters decided a couple of years ago that they didn’t want to carve pumpkins. They don’t like scooping the goop out of the pumpkin and the sticky mess it leaves! I can’t say that I blame them;)
While I love looking at pumpkins once we are done carving them, the process is something that I personally do not look forward to! It’s so much work, and so much mess!
We did start carving outside a couple of years ago, and that makes such a difference! It’s definitely more enjoyable when you can just hose everything down instead of mopping floors after picking off strings of pumpkin goo! But it is still a messy job.
So, what is the alternative to carving?
We decided to decorate our pumpkins with melted crayons!
It was a success! The kids had a lot of fun!
And while there was still a little mess involved, it was a lot easier and less messy than carving!
Crayon Pumpkin
To decorate your pumpkins with melted crayons you need to start by gathering your supplies.
You will need:
A Pumpkin
Crayons (colors of your choice)
Hair Dryer
Disposable Tablecloth
Before you can get started there is one more thing you need to do. You need to peel the paper off of the crayons. Otherwise you will not be able to melt them onto the pumpkin.
Once you have everything together it’s time to get started!
How do you melt crayons on a pumpkin?
Start by holding a crayon in your hand and turn on the hair dryer. Slightly melt the underside of the crayon so that it is soft and able to be placed on the top of the pumpkin. This will allow the crayons to stick to the pumpkin and not fall off when you start blowing the hot air on them.
Place the slightly melted crayons on top of the pumpkin all the way around the pumpkin. Just like in this picture:
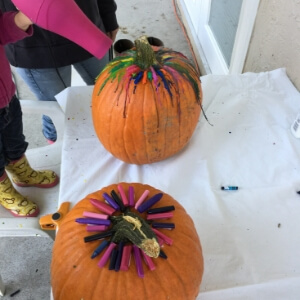
Next turn on the hair dryer and hold it over the crayons until they have fully melted and are running down the pumpkin.
As I said above, we still do these outside as they are not completely mess free. Some crayon will splatter as it melts and as the hot air blows on the remaining crayon. But overall it is a lot less messy than carving!
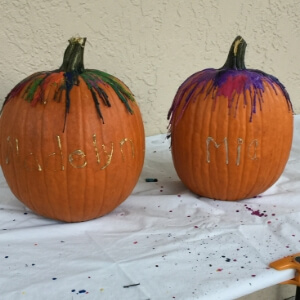
And it was a fun experience! The kids had fun trying something new and loved how colorful their pumpkins were:)
Once we had finished melting the crayons we also used glitter glue to write their names on their pumpkins. It kind of gives it a finished look and an extra touch. You can’t go wrong with glitter;)
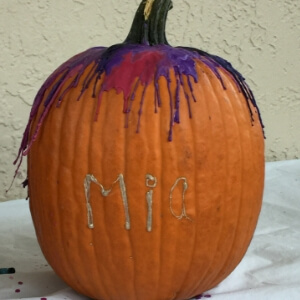
Isn’t that adorable? Definitely something you should try with your kids this halloween!
Honestly, I’m thinking about making my own crayon pumpkins this year to decorate my house! I think I would love to try this look using a white pumpkin!
Have you every made a melted crayon pumpkin? Be sure to come back after making yours and let me know how much your kids enjoyed making them!
For more fall fun be sure to check out:
Happy halloween and happy fall! However you choose to decorate your pumpkins I hope you have fun:)